Specifying Hard Equipment Cases: Foam, Wheels and Transport
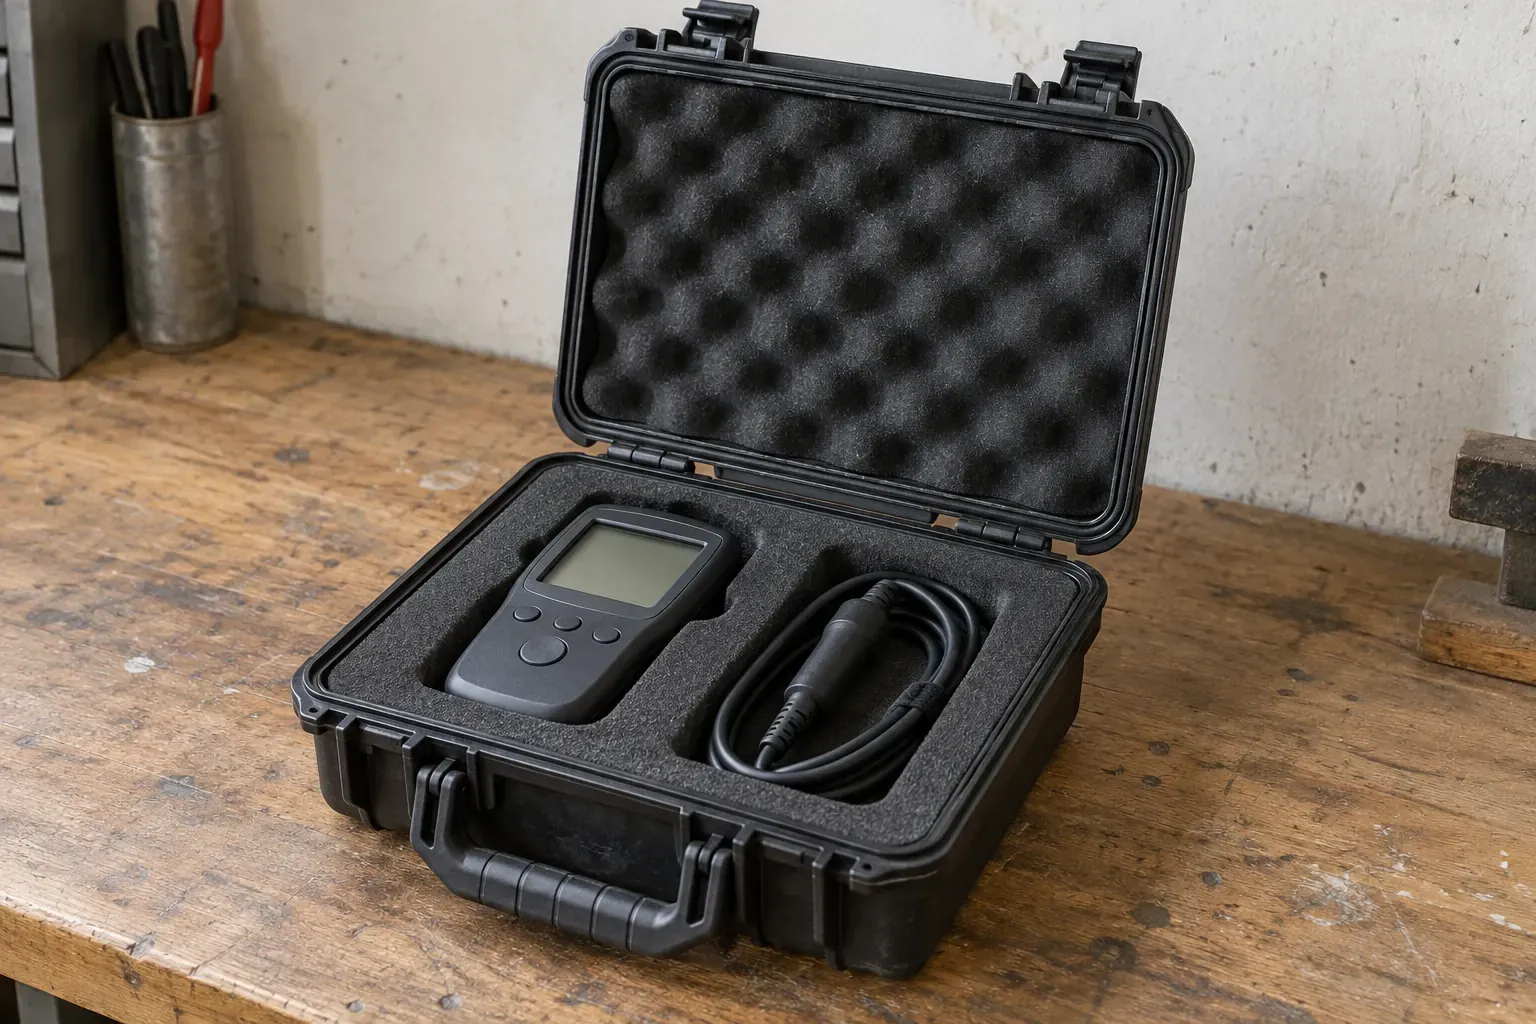
A poor fit can damage equipment or waste space in transit. Specify the packed interior first, then confirm that the loaded case and final shipping package suit the route.
This guide connects measurements, foam, movement and transport into a purchasing record. It belongs to the equipment cases and protection topic; use the waterproof case checklist separately when seals, valves and water-exposure claims are part of the job.
Quick specification check
Start with the kit and its journey, rather than an advertised case length. Fill these fields before comparing a hard shell case with foam against an empty case or a rolling configuration.
Scroll horizontally to see all columns.
| Input or item | Value or source to record | Why it matters |
|---|---|---|
| Equipment envelope | Measured kit in its packing orientation | Defines the cavities and access needed |
| Interior and depth split | Model drawing; lid and base separately | Checks space for the insert and closure |
| Insert configuration | Supplier’s layout and material description | Identifies what the quoted case includes |
| Loaded mass | Case, insert, equipment and accessories together | Input for handling and load-limit checks |
| Route and hardware | Surfaces, steps, lifting points, wheel/handle documentation | Shows where rolling ends and lifting begins |
| Final shipment | Carrier/service, outer package and contents declaration | Defines the transport and chargeable package |
Keep one specification for the complete package. A supplier response that describes only the shell leaves the insert, hardware limits and shipping preparation unresolved. The outdoor equipment RFQ guide shows how to put requested evidence beside each requirement rather than burying it in a general request for a rugged case.
Takeaway: Compare the same packed kit, handling route and shipment in every offer.
Size the interior around the packed kit
Measure the equipment in the orientation in which it will travel, including accessories that remain attached. Then reserve the space required by the proposed insert; do not treat the full advertised interior as a ready-made cavity for your device.
Use this sequence when preparing the layout:
- List the main instrument, probes, chargers, leads and removable accessories. Decide which items travel in this case and which travel separately.
- Measure each item’s outer envelope, including projecting knobs, connectors, guards and handles. Mark surfaces that should not receive pressure.
- Arrange the items as they will be packed. Leave room to grasp and remove each one, and distinguish equipment cavities from cable storage.
- Ask the insert supplier to mark the proposed cushioning around, below and above each item. Record the material and the reason for that design; there is no universal clearance prescribed here.
- Check the layout against the case’s internal geometry and its lid/base depth split. Request a section view or sample fit when flat dimensions do not settle closure.
For the section check, record the bottom support layer, the equipment’s seated height, the closure plane between lid and base, the lid lining and any contact or compression specified by the insert supplier. Ask for the drawing’s measurement datums, then check the proposed stack against those same datums and close the sample normally. These are purchasing checks, not prescribed foam thicknesses.
A depth number alone does not show where the lid closes relative to a tall instrument. The equipment may sit mainly in the base, while its upper shape extends toward the lid. Verify that the intended lid lining, any lid organizer and the insert all fit without forcing the latches or pressing on a vulnerable control.
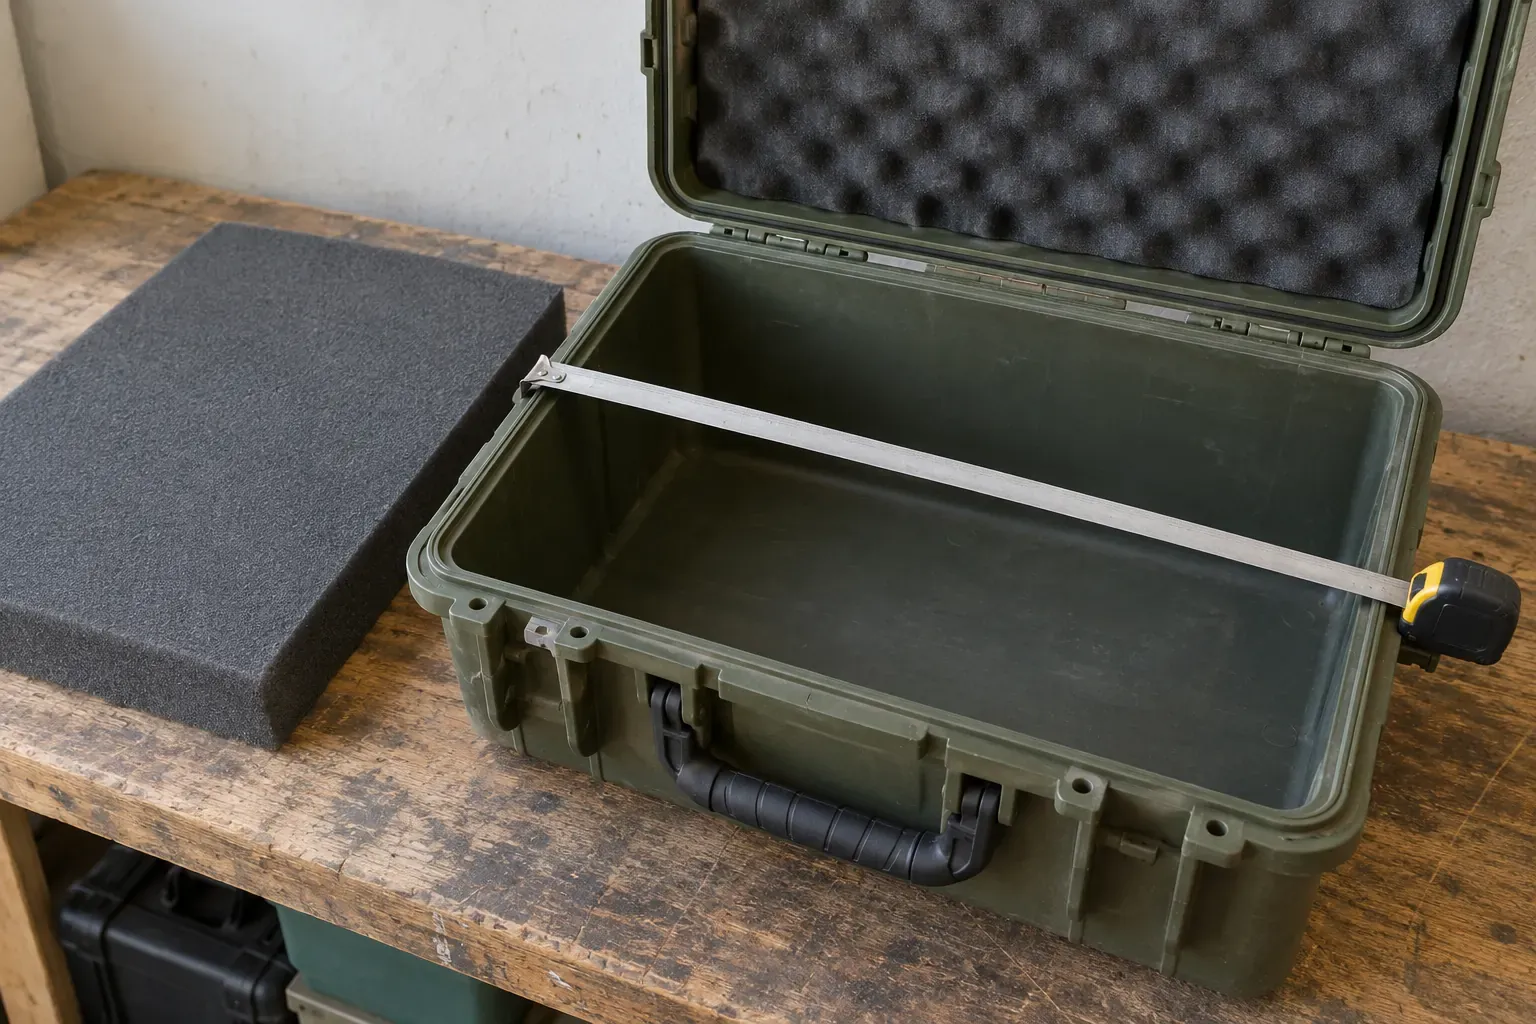
For a portable light kit, use the work-light buying guide to identify the light, mount and power accessories that belong in the inventory. Measuring only the lamp housing can leave the complete working kit without a place to travel.
Common mistake: choosing a case by its outside length and discovering that the equipment leaves no space for the insert or lid lining.
Takeaway: Approve the packed layout and closure, not just a match between two length numbers.
Three documentation examples, without a ranking
Read interior and exterior dimensions as different fields. These three manufacturer documents illustrate the distinction; they are examples of documentation, not a shortlist of recommended products. Dimensions are in inches, in the source’s length × width × depth/height order, and refer to the case shell rather than equipment cavities cut into foam.
Scroll horizontally to see all columns.
| Manufacturer document | Interior, in | Exterior, in | Lid / base depth, in |
|---|---|---|---|
| Pelican 1510 sheet | 19.75 × 11.00 × 7.60 | 22 × 13.81 × 9 | 1.79 / 5.79 |
| Pelican 1650 sheet | 28.57 × 17.52 × 10.65 | 31.59 × 20.47 × 12.45 | 1.81 / 8.84 |
| NANUK 935 sheet, 2026 | 20.5 × 11.3 × 7.5 | 22 × 14 × 9 | 2.1 / 5.4 |
The 1510 sheet lists a 1.79-inch lid depth and a 5.79-inch bottom depth, which add to 7.58 inches, against a 7.60-inch total interior depth. A 0.02-inch gap is small enough to come from rounding, but when an insert stack is tight, ask the manufacturer which datums each depth uses rather than adjusting the published values yourself.
Do not infer insert clearance by subtracting an exterior dimension from an interior dimension. That difference describes the two published envelopes, not a cushioning allowance around the equipment. Likewise, comparing interior volumes does not establish that a particular instrument and its retrieval space will fit.
The material and mobility fields deserve a separate reading:
Scroll horizontally to see all columns.
| Document | Foam statement or option | Wheel/handle statement | Loaded rolling limit |
|---|---|---|---|
| 1510 | Polyurethane; foam and other interior configurations offered | Polyurethane wheels, stainless-steel bearings, retractable trolley handle | Not stated in the cited sheet |
| 1650 | Polyurethane; two-level pick-and-pluck with convoluted lid foam | Four polyurethane wheels, stainless-steel bearings, retractable trolley handle | Not stated in the cited sheet |
| 935 | Cubed/custom foam options; linked cubed drawing uses material code “PUF 1.5 BLACK” | Polyurethane wheels; two-level retractable handle | Not stated in the cited sheet |
The 935 cubed-foam drawing, dated December 13, 2011 also warns that foam density may vary. Have the supplier identify the material and grade actually offered rather than treating a linked drawing as a guarantee for every insert configuration.
Use the test report checklist if an offer adds drop or shock claims. Dimensional data and a description of wheels cannot demonstrate protection of your particular loaded kit.
Takeaway: Preserve the model, units and configuration beside each catalog figure; leave missing load limits visibly unresolved.
Match the foam to the layout and equipment
Choose an insert by the equipment layout and the way the kit changes. Pick-and-pluck or cubed foam describes an adjustable layout format; a custom-cut insert describes a layout made for an agreed arrangement. Neither description alone identifies the material grade or proves impact protection.
As a purchasing recommendation, start with a cubed insert when you need to develop a layout for a modest kit and the supplier confirms the material suits the contents. Request a custom-cut layout when the equipment arrangement is settled and repeatable cavities, controlled access or matching replacement inserts matter. For a frequently changing kit, compare removable inserts or adjustable dividers rather than assuming repeated changes to one foam block will suit the job.
Ask for the following in the insert specification:
- Material identification and grade, rather than “protective foam” alone.
- Layout revision, cavity orientation and the items assigned to each cavity.
- Proposed cushioning around and beneath the equipment, plus lid contact where intended.
- Handling cutouts that let the user remove items without pulling cables or delicate controls.
- Replacement insert identification and responsibility for approving later layout changes.
- Any equipment-specific requirements such as electrostatic protection or cleaning compatibility, with supporting documentation.
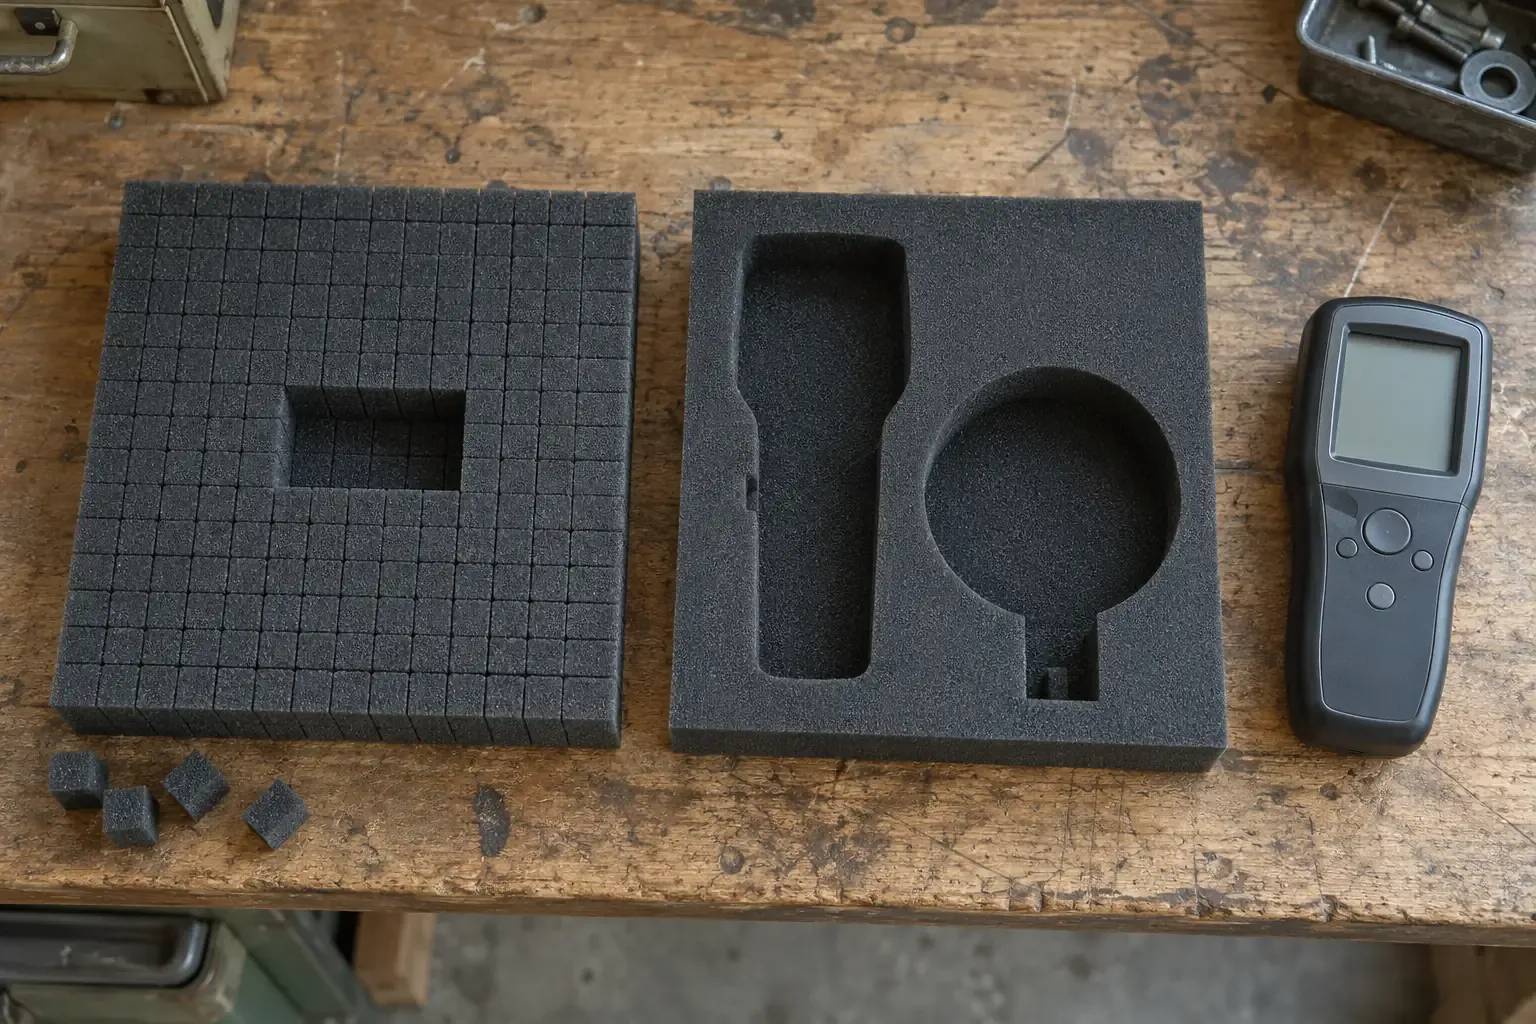
Before ordering a batch, arrange a fit check with the actual equipment or an agreed dimensional surrogate. Close the lid normally, remove and replace each item, and check that accessories do not migrate into a vulnerable part of the kit. Record what was checked; this practical fit check does not replace a specified transport test.
For recurring deployments, connect replacement inserts and hardware to the maintenance planning guide. A kit whose contents change needs its layout reviewed along with the inventory.
Takeaway: Specify the insert as a component with its own material, layout and replacement record.
Specify the loaded route, wheels and lifting handles
Choose wheels against the route and the loaded case, not against the appearance of an empty one. Record where the case will roll and where somebody will lift it. A hard case with wheels and a handle still needs a plan for steps, vehicle loading and areas where rolling is impractical.
Scroll horizontally to see all columns.
| Route condition | Question to resolve | Record to request or make |
|---|---|---|
| Corridor or loading-area threshold | Will the loaded case cross it with usable clearance? | Planned route and a representative handling check |
| Gravel, soft ground or debris | Is this wheel arrangement suitable here? | Supplier’s use conditions; alternative trolley or carrying plan |
| Steps or vehicle loading | What lifting points are intended? | Fixed-handle documentation and local handling arrangement |
| Narrow access or storage | Will the complete exterior fit? | Opening dimensions and case envelope with hardware stowed |
| Frequent transfers | Can wheels and handles be serviced? | Replacement part identification and service instructions |
Ask the supplier for the permissible loaded mass and conditions for the wheel assembly, fixed lifting handles and retractable pull handle separately. Clarify whether a stated limit describes contents only or the total case and contents. Do not use an empty-case weight, buoyancy figure or generic “heavy duty” description as a substitute.
The selected sheets describe construction but do not give a numeric loaded rolling limit. That is a documentation gap to resolve for an actual purchase, not evidence that the wheels cannot carry a load. Until a model-specific limit is supplied, the table cannot answer whether your loaded kit is within that limit.
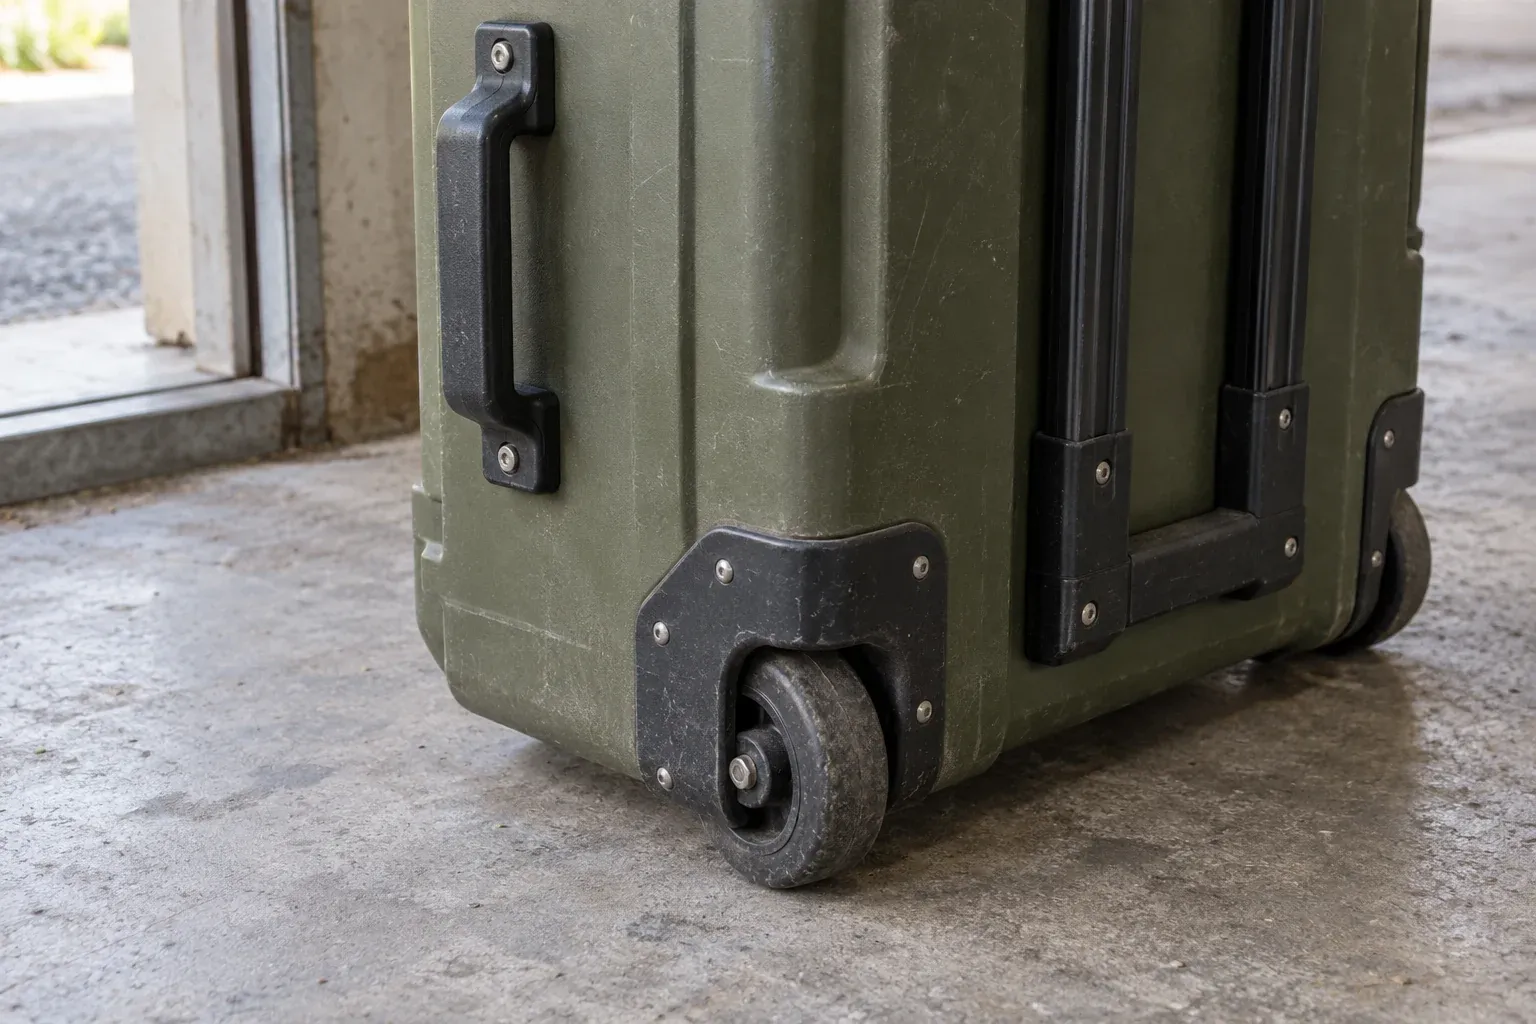
For a team deploying to several site zones, the campground equipment checklist can help record destinations and shared equipment. Include the trip from storage to the work area, rather than stopping the route description at the delivery door.
Takeaway: Confirm the full loaded mass, intended hardware use and every change from rolling to lifting.
Separate baggage, parcel and freight requirements
Specify the transport mode before calling a hard case “shipping ready.” An airline baggage decision, parcel packaging decision and freight booking ask different questions. Start with the final packed contents, exterior package and responsible carrier.
Scroll horizontally to see all columns.
| Transport mode | Resolve before departure | Keep with the handover |
|---|---|---|
| Passenger baggage | Airline size/weight conditions and restrictions on the contents | Airline confirmation and a contents list |
| Parcel service | Whether the case needs an outer package; final dimensions and gross mass | Packaging approval, selected service and shipment measurements |
| Pallet or other freight | Restraint, handling access and any outer protection for the booked service | Packed configuration and carrier instructions |
| Return shipment | Who supplies packaging and whether the same kit returns | Packing photos, inventory and return instructions |
What an ATA reference establishes
The Airlines for America catalog lists ATA Spec 300, Revision 2020.1, titled Specification for Packaging of Airline Supplies. Its description concerns packaging design, procurement and testing for airline supplies, with additional topics including electrostatic-sensitive devices and case maintenance.
An ATA label is not the carrier’s acceptance of your shipment. If your procurement requirement invokes this specification, identify the edition, claimed category, applicable test evidence and case configuration in the purchase record. This guide uses the publisher’s catalog for version and scope; it does not reproduce test criteria or certify any case.
Shipping size and battery contents
Use the final outside package for the carrier discussion. An overbox or pallet changes what is shipped, even if the case shell stays the same. FedEx’s dimensional-weight explanation says charges use dimensional or actual package weight, whichever is greater. Check the terms for your chosen service instead of assuming that a light but large case will cost less to ship.
For passenger travel, FAA PackSafe guidance says spare lithium batteries and power banks belong in carry-on baggage, with terminals protected against short circuit. If the carry-on case is checked at the gate, those spare batteries and power banks need to be removed and retained in the cabin. Resolve the airline’s conditions before travel. Commercial battery cargo needs its own applicable shipping review; passenger guidance is not a cargo packing instruction.
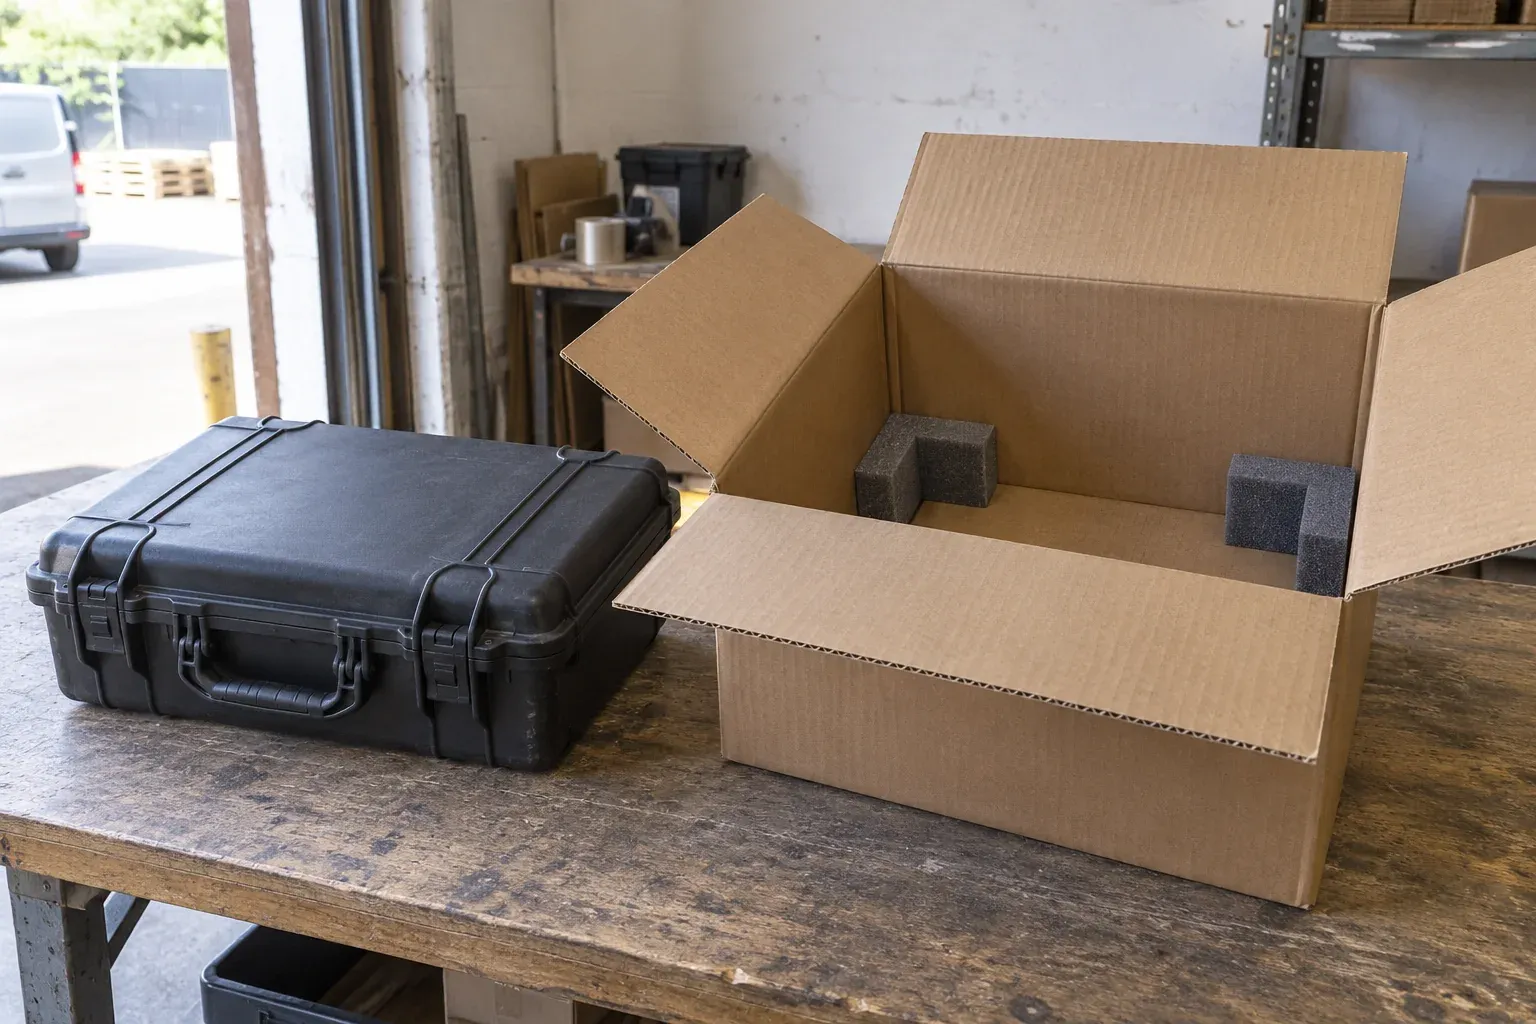
Use the IP rating explanation when water or dust claims also appear on the offer. Those claims answer a separate question from carrier acceptance and the handling of the contents.
Common mistake: treating a case’s ATA claim or carry-on description as permission to ship any contents on any service.
Takeaway: Match the exact package and contents to the selected carrier and transport mode.
Compare the complete package, not the shell price
Compare offers with the same equipment layout, insert, hardware and delivery scope. An empty shell and a ready-to-pack custom insert are different purchases. A useful cost comparison identifies what is included and what will need another order or another party.
Separate the shell, stock or custom insert, layout approval, optional organizers, wheels and handles, replacement parts, shipping preparation and delivery service in your comparison. Ask how insert revisions and replacement inserts are priced. Record whether a quoted case includes the selected foam arrangement, rather than relying on a product image that may show another option.
Evaluate serviceability alongside the initial package: who can provide the correct wheel, latch or insert, what identification is needed, and which changes require a new layout? These are purchasing questions, not a claim that one material or brand has a lower lifetime cost.
Keep transport dimensions and package mass with the cost record. The carrier’s charging basis can change the comparison even when the equipment inventory is identical. Use the buying and maintenance topic to connect the purchase specification to ownership tasks.
Takeaway: Make each offer describe the same usable package and record excluded work explicitly.
When this does not apply
This specification workflow does not establish shock protection, an airline allowance or dangerous-goods compliance. Use a packaging specialist or the responsible carrier when the shipment needs a validated cushioning design, hazardous-material preparation or a contractual testing program.
- Equipment requiring controlled electrostatic conditions needs a documented insert and handling arrangement suited to that equipment.
- Batteries, liquids and other restricted contents need a transport review specific to the mode and shipment.
- A shell’s water-protection claim needs the separate seals, closures and evidence review in the case checklist.
- Instrument accuracy after transport may need a manufacturer-defined functional or calibration check; a clean exterior is not that check.
- A representative handling check documents usability on the route checked. It does not establish performance on every terrain or after repeated impacts.
Takeaway: Use this record to define a purchase, and obtain specialist evidence for the protection or transport obligations it cannot establish.
Case specification and receiving record
Copy this table into your procurement record and fill it with the proposed supplier and carrier. Keep requirements, document statements and checks on the delivered kit separate.
Purchase specification
Fill the empty cells for each candidate. A blank limit remains an open item; it is not acceptance of an unlimited load. Use the final column to assign unresolved questions before ordering.
Scroll horizontally to see all columns.
| Item | Your requirement and unit | Supplier statement / document | Open item and owner |
|---|---|---|---|
| Kit inventory and layout revision | |||
| Interior length, width and depth | |||
| Lid/base depths and measurement datums | |||
| Insert material, grade and layout | |||
| Support layers and equipment seated height | |||
| Lid contact or compression conditions | |||
| Total loaded mass | |||
| Loaded rolling limit and conditions | |||
| Fixed lifting-handle limit and conditions | |||
| Pull-handle use and limit, if specified | |||
| Route, thresholds and lifting stages | |||
| Final package exterior dimensions and gross mass | |||
| Carrier/service and contents restrictions | |||
| Required protection claim and configuration | |||
| Replacement insert and hardware identifiers |
Receiving and handover check
Record observations against the agreed configuration. Use the disposition field for release, correction or a further check, with the responsible person identified.
Scroll horizontally to see all columns.
| Check | Agreed configuration / document | Observed result | Disposition and owner |
|---|---|---|---|
| Delivered case and insert identification | |||
| Complete equipment and accessory inventory | |||
| Fit, retrieval access and normal closure | |||
| Wheels, handles, latches and hinges | |||
| Loaded mass and agreed handling check | |||
| Final transport package and contents record | |||
| Equipment functional check, if required | |||
| Instructions and records handed to next user |
At receipt, match the delivered case and insert to the approved record. Check the kit’s fit, normal closure, retrieval access and the hardware condition before sending it into service. If a dimension or component differs, record the discrepancy and resolve it with the supplier rather than forcing the equipment into the insert.
Keep the instructions and record where the next person packing the case can use them. The resources and checklists page links to existing RFQ and maintenance records that can accompany the completed case record.
Takeaway: Accept the delivered kit against a written configuration, then hand that configuration to the next user.
Frequently asked questions
What is a good hard case for gear?
One that fits the complete kit with its specified insert, can be handled on the intended route and has the evidence required for that job. This guide provides those selection fields rather than a universal winning brand.
What are the different types of hard cases?
There are differences in shell construction, interior organization and mobility. For this purchase, identify the shell, insert and wheel/handle configuration independently; a broad type name does not settle fit or load limits.
What is pick and pluck foam made of?
Check the material for the particular insert. The two Pelican sheets cited here identify polyurethane, while the linked NANUK cubed drawing uses its material code. The layout format alone is not a material specification.
How does pick and pluck foam work?
It uses a pre-cubed layout that can be opened around the intended equipment. Plan the arrangement and follow the insert supplier’s instructions before removing material; confirm the remaining support and fit for the actual kit.
Are hard cases waterproof?
A hard shell alone does not establish a water-protection claim. Read the exact model’s rating, closure conditions and evidence in the waterproof case checklist rather than transferring an insert or shell description to the whole case.
Can you take a hard case on a plane?
Check the airline’s dimensions, loaded weight and contents restrictions for the intended flight. A manufacturer’s carry-on description does not replace those conditions, and spare lithium batteries need the separate passenger-baggage handling described above.
Method and sources
This is a public-document selection guide, not hands-on testing. The dimension and hardware examples are manufacturer statements from the specified sheets. The selection sequence and receiving record are our purchasing recommendations, rather than an industry standard or a measured performance comparison. The sources below identify the documents and their scope; obtain the applicable documents for the configuration offered to you.
Related reading
- Waterproof equipment case checklist — Check seals, closures and the evidence for water exposure.
- Equipment test report checklist — Match a protection claim to its tested sample and scope.
- Outdoor equipment RFQ guide — Carry the agreed configuration and evidence requests into purchasing.
Sources and versions
- 1510 Protector Case specification sheet , Pelican Supports: Manufacturer-stated interior/exterior dimensions, lid/base depths, foam material and wheel construction; no loaded rolling limit stated.
- 1650 Protector Case specification sheet , Pelican Supports: Manufacturer-stated dimensions, foam configuration and material, wheels and retractable handle.
- 935 case specification sheet, 2026 , NANUK Supports: Manufacturer-stated inch dimensions, lid/base depths, wheel construction and configuration options.
- 935 cubed foam drawing, dated December 13, 2011 , NANUK / Plasticase Supports: The linked drawing identifies a cubed insert and uses the material code PUF 1.5 BLACK; it warns that foam density may vary.
- Spec 300: Specification for Packaging of Airline Supplies, Revision 2020.1 , Airlines for America Supports: The publisher's catalog identifies the revision and scope; this guide does not reproduce test requirements or certify a case.
- What is dimensional weight? , FedEx Supports: FedEx explains charging by dimensional or actual package weight, whichever is greater.
- PackSafe: Lithium Batteries , Federal Aviation Administration Supports: Passenger-baggage guidance for spare lithium batteries, terminal protection and removal when a carry-on bag is gate-checked.
Next steps
Choosing a Waterproof Equipment Case: A Procurement Checklist
A procurement checklist for waterproof equipment cases: dimensions, seals, latches, valves, rating claims, test report scope, spares and maintenance documents.

How to Check an Equipment Supplier’s Test Report
How to check a supplier's equipment test report: document type, issuer, model and sample match, scope, conclusions, accreditation, plus a downloadable record.

How to Write an RFQ for Outdoor Equipment
How to write a request for quotation for outdoor equipment: measurable requirements, documents, commercial terms and a response table that makes quotes comparable.